

Spring Siding Inspection Checklist for Metro Detroit Homes

Every spring, we get the same calls from homeowners across Macomb County, Oakland County, and St. Clair County: "I just noticed this crack in my siding," or "There's water staining under my windows." The damage was there all winter — they just couldn't see it until the snow melted and the sun came out.
Michigan winters are brutal on exterior materials. Between November and March, your siding goes through dozens of freeze-thaw cycles, gets pounded by ice dams, absorbs moisture from snow sitting against the house, and endures wind-driven sleet that finds every weak point in your exterior envelope. By the time April rolls around, that damage is real — and if you don't catch it early, what starts as a $200 caulking job can turn into a $15,000 siding replacement.
We've been doing house siding in Detroit and throughout Southeast Michigan since 1988. We've seen what happens when homeowners skip the spring inspection, and we've seen how much money gets saved when they don't. This isn't a generic checklist you'd find on a national home improvement blog — this is what we actually look for when we inspect siding after a Michigan winter.
Why Michigan Winters Destroy Siding (And Why Spring Is Inspection Season)
Let's talk about what actually happens to your siding between November and March in Southeast Michigan. It's not just "cold weather" — it's a specific set of conditions that test every joint, seam, and fastener on your house.
The Freeze-Thaw Cycle Is the Real Enemy
When temperatures swing above and below 32°F — which happens constantly in Michigan from late winter through early spring — moisture trapped in or behind your siding expands when it freezes, then contracts when it thaws. This creates pressure that cracks caulk, splits seams, and forces panels apart. In a typical Metro Detroit winter, you'll see 30 to 50 freeze-thaw cycles. Each one is a stress test your siding has to pass.
Vinyl siding becomes brittle in cold temperatures. When it's 15°F outside and you get a hard wind gust, vinyl that's already stressed from expansion and contraction can crack. We see this most often on west-facing walls that take the brunt of winter storms and on north-facing walls that never get direct sun to warm them up during the day.
Ice Dams Don't Just Damage Your Roof
When ice dams form along your roofline — usually because of poor attic insulation in Metro Detroit — the water that backs up under your shingles doesn't just stay on the roof. It runs down behind your siding at the roofline, soaking the sheathing and house wrap. By spring, you'll see water stains, mold growth, or soft spots in the siding just below the soffit. This is especially common on 1960s ranch homes in Sterling Heights and Warren, where original insulation has settled and lost effectiveness.
The connection between your Detroit roofing services and siding health is direct: if your attic isn't properly insulated and ventilated, your siding pays the price every winter.
Why Spring Reveals What Winter Hid
Snow piled against your foundation all winter keeps moisture against the bottom courses of siding for months. When it finally melts in March and April, that's when you see the rot, the mold, the swelling at the bottom of fiber cement panels, or the delamination on LP SmartSide. The damage was happening all winter — you just couldn't see it until the snow was gone.
This is why we tell homeowners to inspect in late April or early May, after the ground has dried out but before summer storms start. You want to catch winter damage before spring rains make it worse.

The 8-Point Spring Siding Inspection Checklist
This is the same checklist we use when we walk a property in Rochester Hills, Grosse Pointe Farms, or Shelby Township. It's designed to catch problems early, when they're still fixable without a full replacement.
1. Visual Inspection from Ground Level
Start by walking the entire perimeter of your house. Stand back 15-20 feet and look at the overall condition. You're looking for:
- Obvious damage: Cracks, holes, missing panels, or areas where siding has pulled away from the house
- Color inconsistency: Fading or discoloration that indicates UV damage or moisture problems
- Wavy or buckled sections: Panels that don't sit flat against the wall
- Gaps at corners or trim: Separation where different materials meet
If you see any of these from ground level, you've got a problem that needs closer inspection.
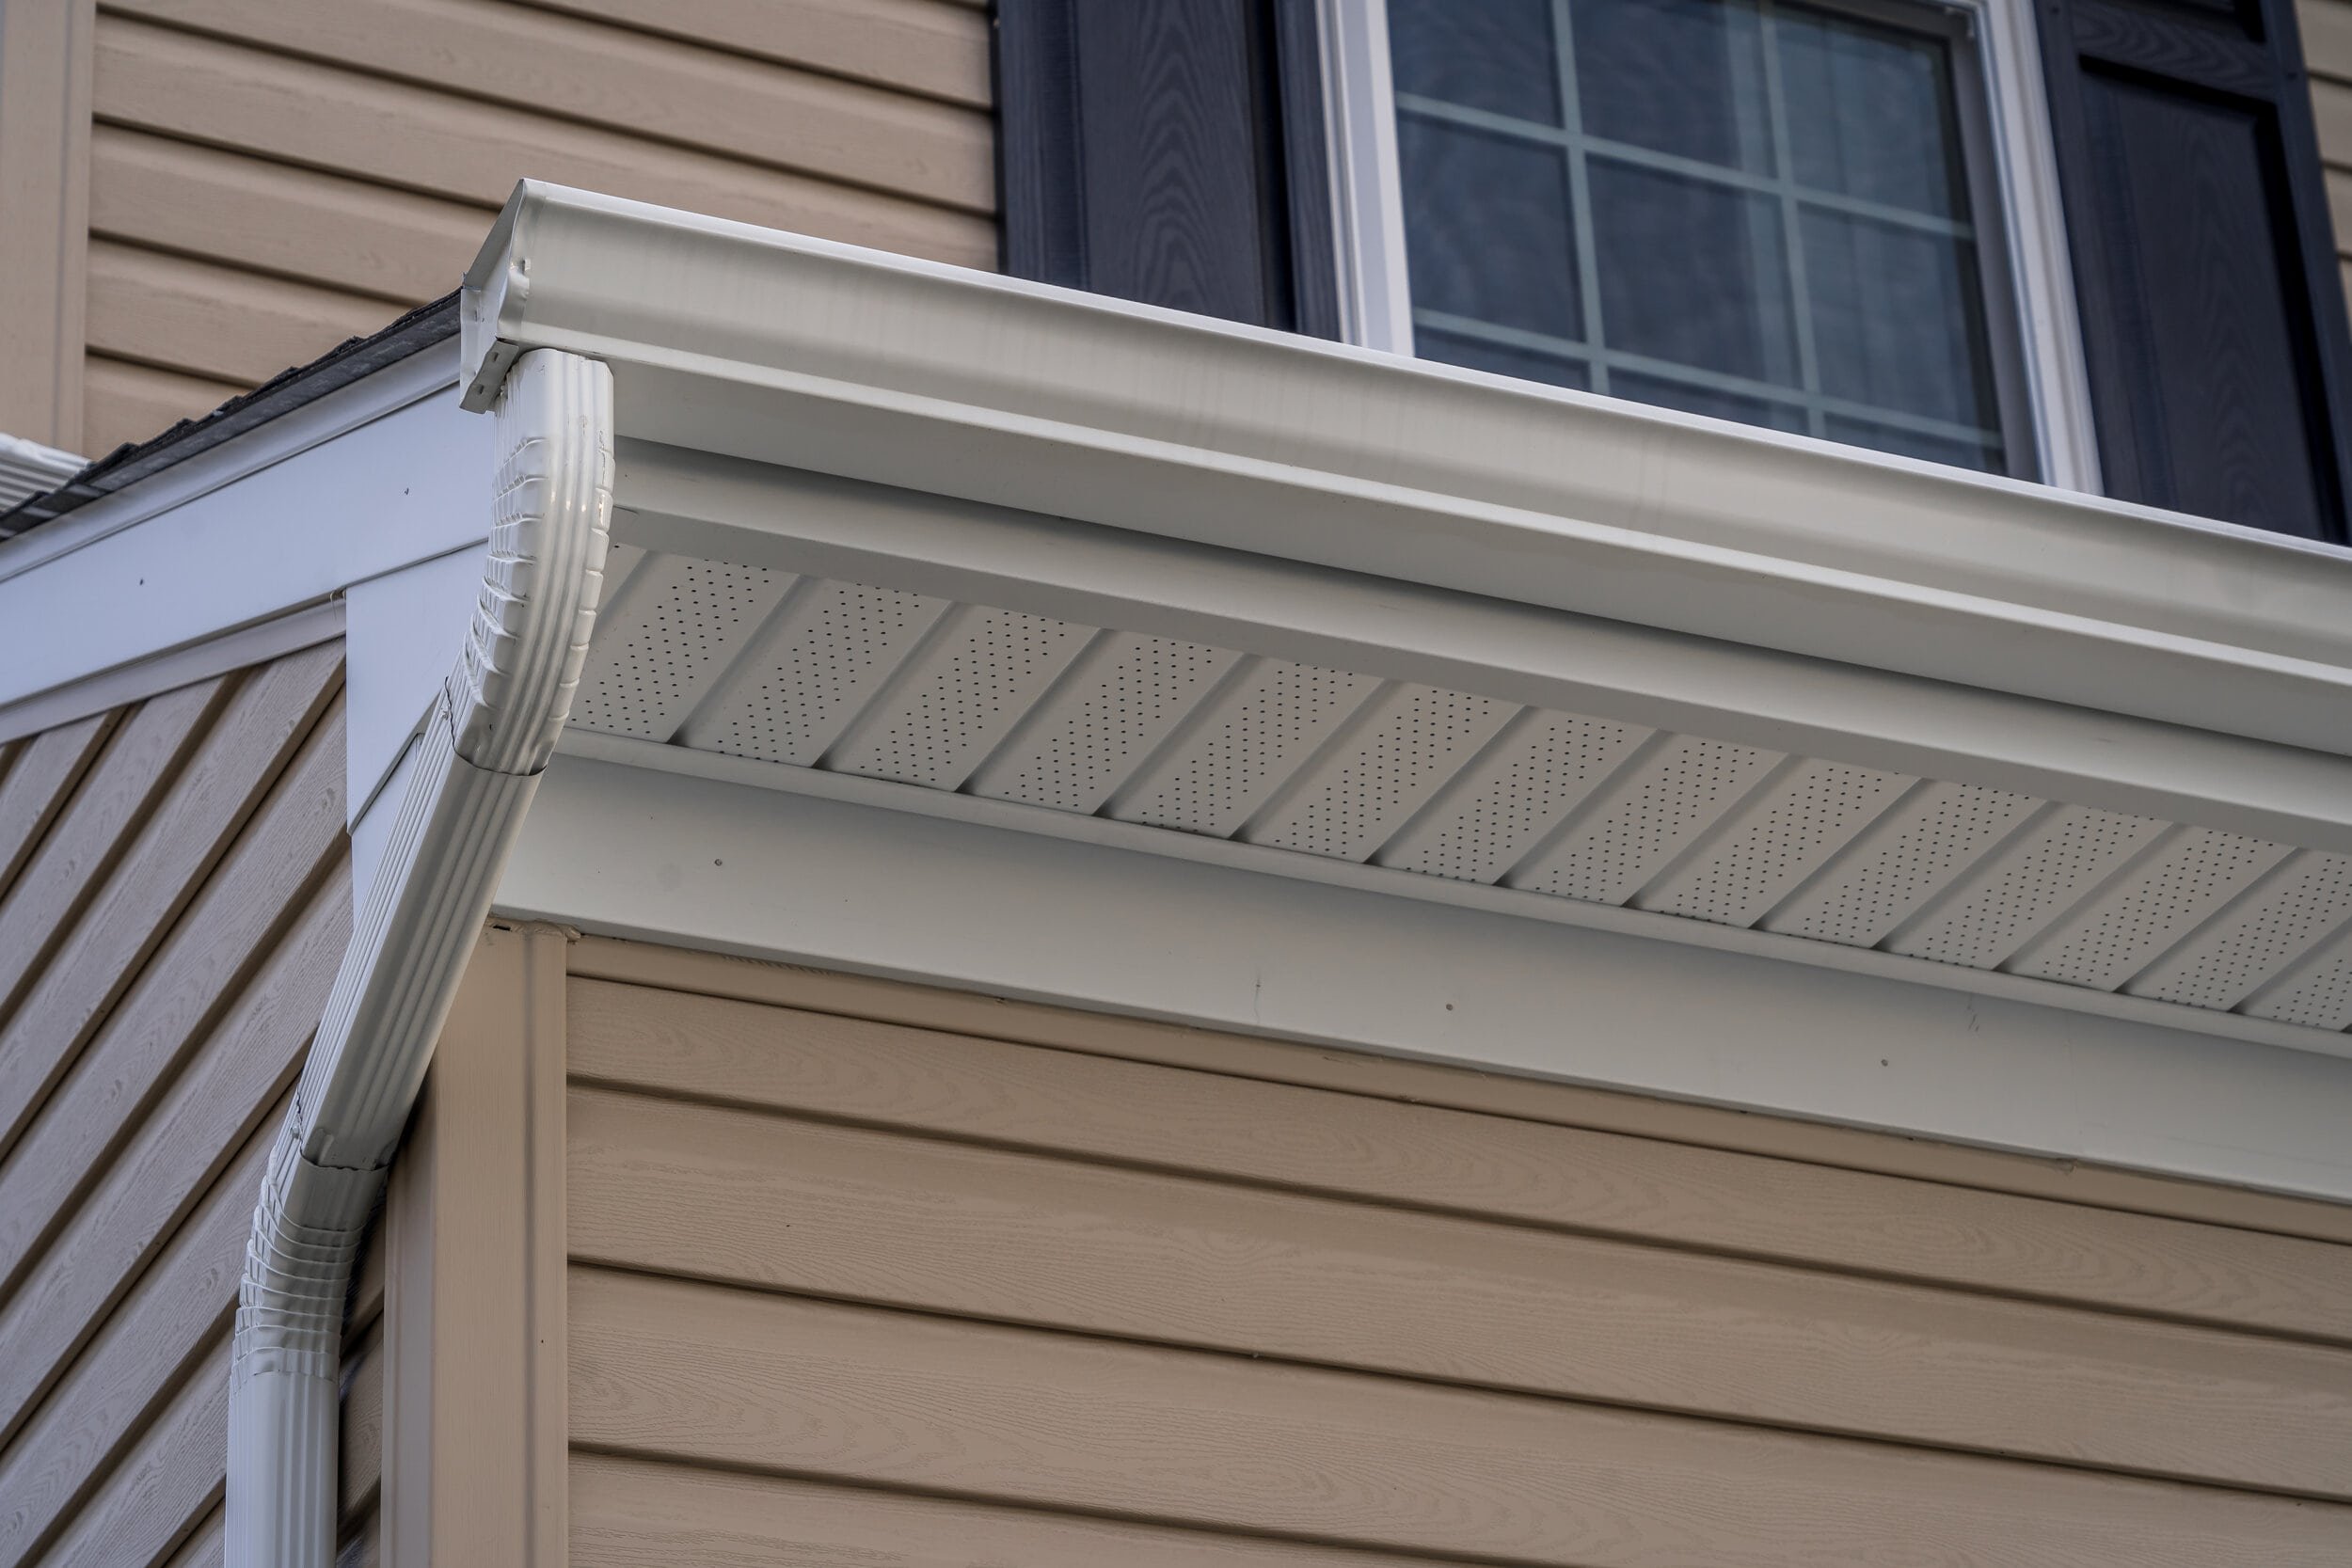
2. Close-Up Inspection of Seams and Joints
Get close to the siding — within arm's reach — and look at where panels overlap and connect. This is where most failures start. Check for:
- Gaps between panels: You shouldn't be able to see daylight through the seams
- Separation at overlaps: Panels should be locked together, not pulling apart
- Loose or missing fasteners: Look for nails that have backed out or areas where panels move when you press on them
On vinyl siding, the lock mechanism at the bottom of each panel should be fully engaged with the panel below it. If it's not, water can get behind the siding.
3. Check Trim, Corners, and J-Channels
All the trim pieces — corner posts, J-channels around windows and doors, starter strips at the bottom — are critical for keeping water out. Inspect:
- Corner posts: Check for cracks, separation from the wall, or gaps where water could enter
- J-channel around windows: Look for gaps between the J-channel and the window frame, or areas where caulk has failed
- Starter strip at the bottom: Make sure the first course of siding is still properly engaged with the starter strip
We see a lot of corner post failures on Colonial-style homes in Bloomfield Hills and Troy, where the corners take the most wind exposure.
4. Inspect Caulking and Sealants
Caulk is your first line of defense against water intrusion, and it's also the first thing to fail. Check every caulked joint around:
- Windows and doors: The joint between the window frame and the siding
- Penetrations: Outdoor lights, outlets, hose bibs, dryer vents
- Trim transitions: Where siding meets brick, stone, or other materials
Look for caulk that's cracked, shrunk away from the joint, or turned hard and brittle. If you can pull the caulk away from the surface with your finger, it's failed and needs replacement.
5. Look for Moisture Stains and Mold
Dark stains, discoloration, or visible mold on the siding surface means water has been sitting there. Check:
- North-facing walls: These get the least sun and stay damp longest
- Areas under roof overhangs: Where water drips off the roof edge
- Behind downspouts: Especially if seamless gutters in Detroit, MI are clogged or leaking
- Near grade: The bottom 12 inches of siding, where ground moisture and splash-back are constant problems
Mold on the siding surface is usually cosmetic and can be cleaned. Mold under the siding or on the sheathing behind it is a structural problem that requires professional attention.
6. Check for Warping, Buckling, or Loose Panels
Press gently on the siding in several places. It should feel solid and not move. If panels feel loose, soft, or spring back when you press them, there's a problem behind the siding — usually water damage to the sheathing or house wrap failure.
Warped or buckled panels are common on vinyl siding that was installed too tight. Vinyl needs room to expand and contract with temperature changes. If it was nailed down tight in cold weather, it will buckle when it heats up in summer. We see this all the time on DIY jobs and on work done by crews that don't understand Michigan's temperature swings.
7. Examine Areas Around Windows and Doors
These are the highest-risk areas for water intrusion. Pay special attention to:
- The bottom corners of windows: Where water tends to collect and seep behind the siding
- Above doors and windows: Check for staining or soft spots that indicate water is running down from the header
- Window sills: Make sure they're sloped correctly and not holding water
If you're planning on window replacement in Detroit, coordinate it with any siding repairs. It's much easier to address both at the same time than to fix siding damage after new windows are installed.
8. Inspect Behind Downspouts and Near Grade
The bottom of your house takes the most abuse. Check:
- Behind every downspout: Make sure water is being directed away from the foundation, not splashing back onto the siding
- Within 6 inches of grade: Look for rot, swelling, or delamination on wood or fiber cement siding
- Where mulch or soil touches the siding: This should never happen — you need at least 6 inches of clearance
Ground contact is one of the fastest ways to destroy any siding material. If landscaping has been built up against your house, it needs to be pulled back before you see serious rot.

Material-Specific Warning Signs (Vinyl, Fiber Cement, Wood)
Different siding materials fail in different ways in Michigan's climate. Here's what to look for based on what's on your house.
Vinyl Siding: Cracking, Warping, and Color Fade
Vinyl is the most common siding in Southeast Michigan because it's affordable and low-maintenance. But it has specific failure modes:
- Cracks at fastener points: Usually caused by nailing too tight or by impact damage
- Warping or buckling: From improper installation or extreme heat exposure on south and west walls
- Color fade or chalking: UV degradation, especially on darker colors
- Loose panels: The locking mechanism has failed or the panel has expanded beyond its design limits
Quality vinyl siding from CertainTeed or Norandex (what we typically install) holds up better than builder-grade material, but even good vinyl will show its age after 20-25 years in Michigan. If your vinyl is original to a house built in the 1990s or early 2000s, you're approaching end-of-life.
James Hardie Fiber Cement: Edge Damage and Paint Failure
James Hardie is the gold standard for fiber cement siding — it's what we recommend when homeowners want something that will last 50+ years. But it's not indestructible. Watch for:
- Edge swelling or delamination: Usually at the bottom edge of planks, where water wicks up from ground splash
- Paint peeling or cracking: Indicates moisture has gotten behind the factory finish
- Cracks at fastener points: From impact or improper nailing
- Efflorescence (white powder): Mineral deposits leaching out, usually means water intrusion
James Hardie comes with a 30-year non-prorated warranty, but that warranty requires proper installation and maintenance. If you're seeing edge damage, it's usually because the bottom edge isn't properly sealed or because ground clearance is insufficient.
LP SmartSide Engineered Wood: Swelling and Delamination
LP SmartSide is treated engineered wood — it's more moisture-resistant than traditional wood siding, but it's still wood-based and will fail if water gets to it. Look for:
- Swelling at edges or ends: The wood fibers are absorbing moisture
- Delamination: The layers of the engineered wood are separating
- Paint bubbling or peeling: Water is trapped under the finish
- Soft spots: The substrate is rotting
LP SmartSide performs well in Michigan if it's installed correctly and kept painted. The 5-year touch-up/15-year finish warranty and 50-year limited warranty on the substrate are solid, but they don't cover damage from improper installation or maintenance neglect.
We install both James Hardie and LP SmartSide regularly, and both are excellent products when installed to manufacturer specs. The choice between them usually comes down to budget and aesthetic preference. You can read more about the comparison in our guide to LP SmartSide vs. James Hardie siding in Michigan.
What Damage Actually Costs to Fix in Southeast Michigan
Let's talk real numbers for 2026. Pricing varies based on material, access, and how much related work needs to be done (trim, house wrap, sheathing repair), but here's what you're looking at in Macomb, Oakland, and St. Clair counties.
Minor Repairs: $200–$800
This covers:
- Caulking refresh around windows and doors: $200–$400 for a typical home
- Single panel replacement (vinyl): $150–$300 per panel, including labor
- Small patch repair on fiber cement: $300–$600, depending on access
- Reattaching loose trim or corner posts: $200–$500
Most spring inspection findings fall into this category if caught early. A $300 repair in May prevents a $3,000 problem in December.
Moderate Repairs: $1,500–$5,000
This includes:
- Section replacement (one wall): $2,000–$4,000 for vinyl, $3,000–$5,000 for fiber cement
- Sheathing repair behind damaged siding: Adds $800–$2,000 depending on extent
- Replacing all trim and J-channel: $1,500–$3,000 on a typical 1,800 sq ft home
- Water damage remediation (mold, rot): $1,000–$3,000 depending on severity
This is where you end up if you skip the spring inspection and don't catch problems until they've spread. One rotted section of sheathing can compromise an entire wall if water keeps getting in.
Major Repairs: $8,000–$25,000+
Full or near-full siding replacement:
- Vinyl siding (whole house): $8,000–$15,000 for a typical 1,800 sq ft ranch or Colonial
- James Hardie fiber cement: $18,000–$28,000 for the same house
- LP SmartSide: $15,000–$22,000
These numbers include removal of old siding, house wrap replacement, new siding, trim, and labor. They don't include sheathing repair, which can add $2,000–$5,000 if there's extensive rot.
For detailed pricing breakdowns, see our guide on siding replacement cost in Michigan for 2026.
Real Example from Clinton Township: A homeowner called us in June 2025 after noticing "a little water staining" under one window. When we pulled back the siding, we found the house wrap had failed, the sheathing was rotted through, and water had been running down inside the wall cavity for at least two winters. What should have been a $400 caulking job in spring 2024 turned into a $4,200 repair because it went unnoticed for a year.
When to Call a Contractor vs. DIY Fixes
Some siding maintenance is safe and straightforward for homeowners. Some isn't. Here's how to know the difference.
Safe DIY Fixes
You can handle these if you're comfortable on a ladder and have basic tools:
- Cleaning mold or mildew off siding: Use a soft brush and a mix of water and oxygen bleach (not chlorine bleach, which can damage siding). Rinse thoroughly.
- Recaulking around windows and doors: Remove old caulk completely, clean the joint, and apply new exterior-grade caulk (we use Sherwin-Williams products for all our Southeast Michigan painting and caulking work)
- Reattaching loose trim: If a piece of trim has come loose but isn't damaged, you can reattach it with exterior-grade screws or nails
- Clearing vegetation away from siding: Pull back mulch, trim branches, and remove anything touching the siding
When to Call a Professional
These situations require a licensed contractor with the right tools, materials, and insurance:
- Any siding removal or replacement: Even a single panel replacement requires understanding how the siding system locks together, proper fastening techniques, and matching the existing material
- Water damage behind the siding: If you see staining, mold, or soft spots, there's likely damage to the sheathing or framing that needs professional assessment
- Structural concerns: Sagging, bulging, or areas where the siding has pulled away from the house indicate framing or foundation issues
- Work above the first story: Falls from ladders are one of the leading causes of homeowner injuries. If it requires more than a 6-foot ladder, hire a pro with scaffolding and safety equipment
- Warranty-covered repairs: If your siding is under warranty (James Hardie, LP SmartSide, CertainTeed), improper DIY repairs can void that warranty
As a CertainTeed Master Shingle Applicator and licensed contractor with 35+ years in Michigan, we've seen what happens when homeowners try to DIY repairs that should have been done by a professional. The most common mistake is not addressing the underlying cause — fixing the symptom without fixing the problem just means you'll be fixing it again next year.
What to Expect from a Professional Inspection
When you call NEXT Exteriors for a siding inspection, here's what happens:
- Visual assessment: We walk the property and document all visible damage
- Moisture testing: We use moisture meters to check for hidden water damage behind the siding
- Material identification: We identify your siding type, age, and manufacturer (important for warranty claims)
- Detailed estimate: We provide a written estimate that breaks down exactly what needs to be fixed, why it needs to be fixed, and what it will cost
- Warranty review: If your siding is under warranty, we review what's covered and help you file claims if applicable
We don't do high-pressure sales. We don't try to upsell you on work you don't need. We show you what's wrong, explain your options, and let you make the decision. That's been our approach since 1988, and it's why we have a 5.0-star rating across 87+ reviews.
How to Prevent Siding Damage Before Next Winter
The best spring inspection is the one that finds nothing wrong. Here's how to keep your siding in good shape year-round.
Keep Your Gutters Clean and Functional
Clogged gutters overflow, and that overflow runs down your siding. Over time, it causes staining, mold, and rot. Clean your gutters twice a year — once in late fall after the leaves drop, and once in spring after the seed pods and debris from winter storms.
If your gutters are constantly clogging or pulling away from the fascia, it's time for new ones. We install seamless gutters in Detroit, MI with hidden hangers that won't fail like the old spike-and-ferrule systems. Properly functioning gutters are one of the best investments you can make to protect your siding.
Maintain Proper Grading Around Your Foundation
Ground should slope away from your house at a rate of at least 6 inches over the first 10 feet. If water pools against your foundation, it will wick up into the bottom courses of siding and cause rot. This is especially common on older homes in Royal Oak and Ferndale, where settling has changed the original grading.
If you need to regrade, do it before next winter. It's a relatively inexpensive fix that prevents expensive siding and foundation problems.
Trim Trees and Control Vegetation
Tree branches that rub against siding during windstorms will wear through the finish and damage the substrate. Trim branches back at least 3 feet from the house. Remove vines, bushes, and other vegetation that's growing against the siding — they trap moisture and provide a pathway for insects.
Keep mulch and soil at least 6 inches below the bottom edge of your siding. Ground contact is one of the fastest ways to destroy any siding material.
Annual Caulking Maintenance
Caulk doesn't last forever. Even the best exterior caulk will start to fail after 5-7 years in Michigan's climate. Make it a habit to inspect and refresh caulking every few years:
- Around all windows and doors
- At penetrations (lights, outlets, vents)
- Where siding meets other materials (brick, stone, trim)
Use a high-quality exterior caulk rated for your climate. We use Sherwin-Williams products because they're formulated for temperature extremes and UV exposure.
Address Attic Ventilation and Insulation
Ice dams form when heat escaping through your attic melts snow on the roof, which then refreezes at the eaves. That ice forces water up under shingles and down behind siding. The fix isn't on the roof — it's in the attic.
Proper attic insulation (R-49 to R-60 in Michigan) and ventilation (1 square foot of vent area per 150 square feet of attic space) keeps your roof deck cold in winter, which prevents ice dams. If you're getting ice dams every winter, your attic needs work. We handle both professional roofing in Southeast Michigan and top-rated insulation contractor services in Detroit, and we see the connection between the two on every job.
Consider a Professional Maintenance Plan
Some of our clients in Lake Orion, Bloomfield Hills, and Grosse Pointe Farms have us come out every spring for a full exterior inspection. We check the roof, siding, gutters, and trim, and we handle any minor repairs before they become major problems. It's not a big expense — usually $200-$400 for the inspection and minor maintenance — and it catches issues when they're still cheap to fix.
If you want to learn more about our full range of services, visit our exterior services in Detroit page.
Ready to Get Your Siding Inspected?
NEXT Exteriors has been protecting Michigan homes since 1988. We'll give you an honest assessment of your siding's condition, show you exactly what needs attention, and provide a fair, written estimate with no pressure to buy. If your siding is fine, we'll tell you that too.
Get Your Free InspectionOr call us: (844) 770-6398
Frequently Asked Questions
Late April through May is ideal. The ground has dried out from snowmelt, but you haven't hit summer storm season yet. This gives you time to make repairs before weather causes additional damage. Avoid inspecting in winter when snow covers the bottom of your siding and in early spring when mud and standing water make it hard to see ground-level problems.
Every 2-3 years for homes with vinyl or fiber cement siding in good condition. Annual inspections if your siding is over 20 years old, if you've had water intrusion problems in the past, or if your home is in a high-exposure area (lakefront, hilltop, or heavily wooded). After major storms with high winds or hail, inspect immediately regardless of schedule.
Yes, but with caution. Use low pressure (1,500 PSI or less) and keep the nozzle at least 12 inches from the siding surface. Never aim upward under panel edges — that forces water behind the siding. For vinyl, use a wide fan tip. For fiber cement or wood, use even lower pressure. If you're not comfortable with pressure washing, hire a professional or use a garden hose and soft brush instead.
Quality vinyl siding (CertainTeed, Norandex, Mastic) typically lasts 20-30 years in Michigan's climate. Builder-grade vinyl may only last 15-20 years. Darker colors fade faster from UV exposure. North-facing walls last longer than south and west-facing walls. Proper installation and maintenance can extend lifespan, while poor installation or neglect shortens it significantly.
Repair if damage is localized (one or two panels, a small section), the siding is less than 15 years old, and you can match the existing material and color. Replace if damage is widespread, the siding is over 20 years old, you can't match the existing material, or if there's underlying water damage to sheathing or framing. When in doubt, get a professional assessment — sometimes what looks like minor damage is masking bigger problems behind the siding.
It depends on the cause. Insurance typically covers sudden, accidental damage from storms, hail, wind, or fire. It usually doesn't cover gradual damage from wear, poor maintenance, or improper installation. If you have storm damage, document it with photos and call your insurance company and a licensed contractor (like NEXT Exteriors) for an assessment. We work with insurance adjusters regularly and can help you navigate the claims process.
House wrap (like Tyvek) is a synthetic material that's water-resistant but vapor-permeable — it keeps liquid water out while allowing moisture vapor to escape from inside the wall. Building paper (tar paper) is an older asphalt-impregnated paper that's also water-resistant but less breathable. Modern installations use house wrap because it's more effective at managing moisture in wall cavities. If your home was built before the 1990s and you're replacing siding, we typically upgrade to house wrap at the same time.