

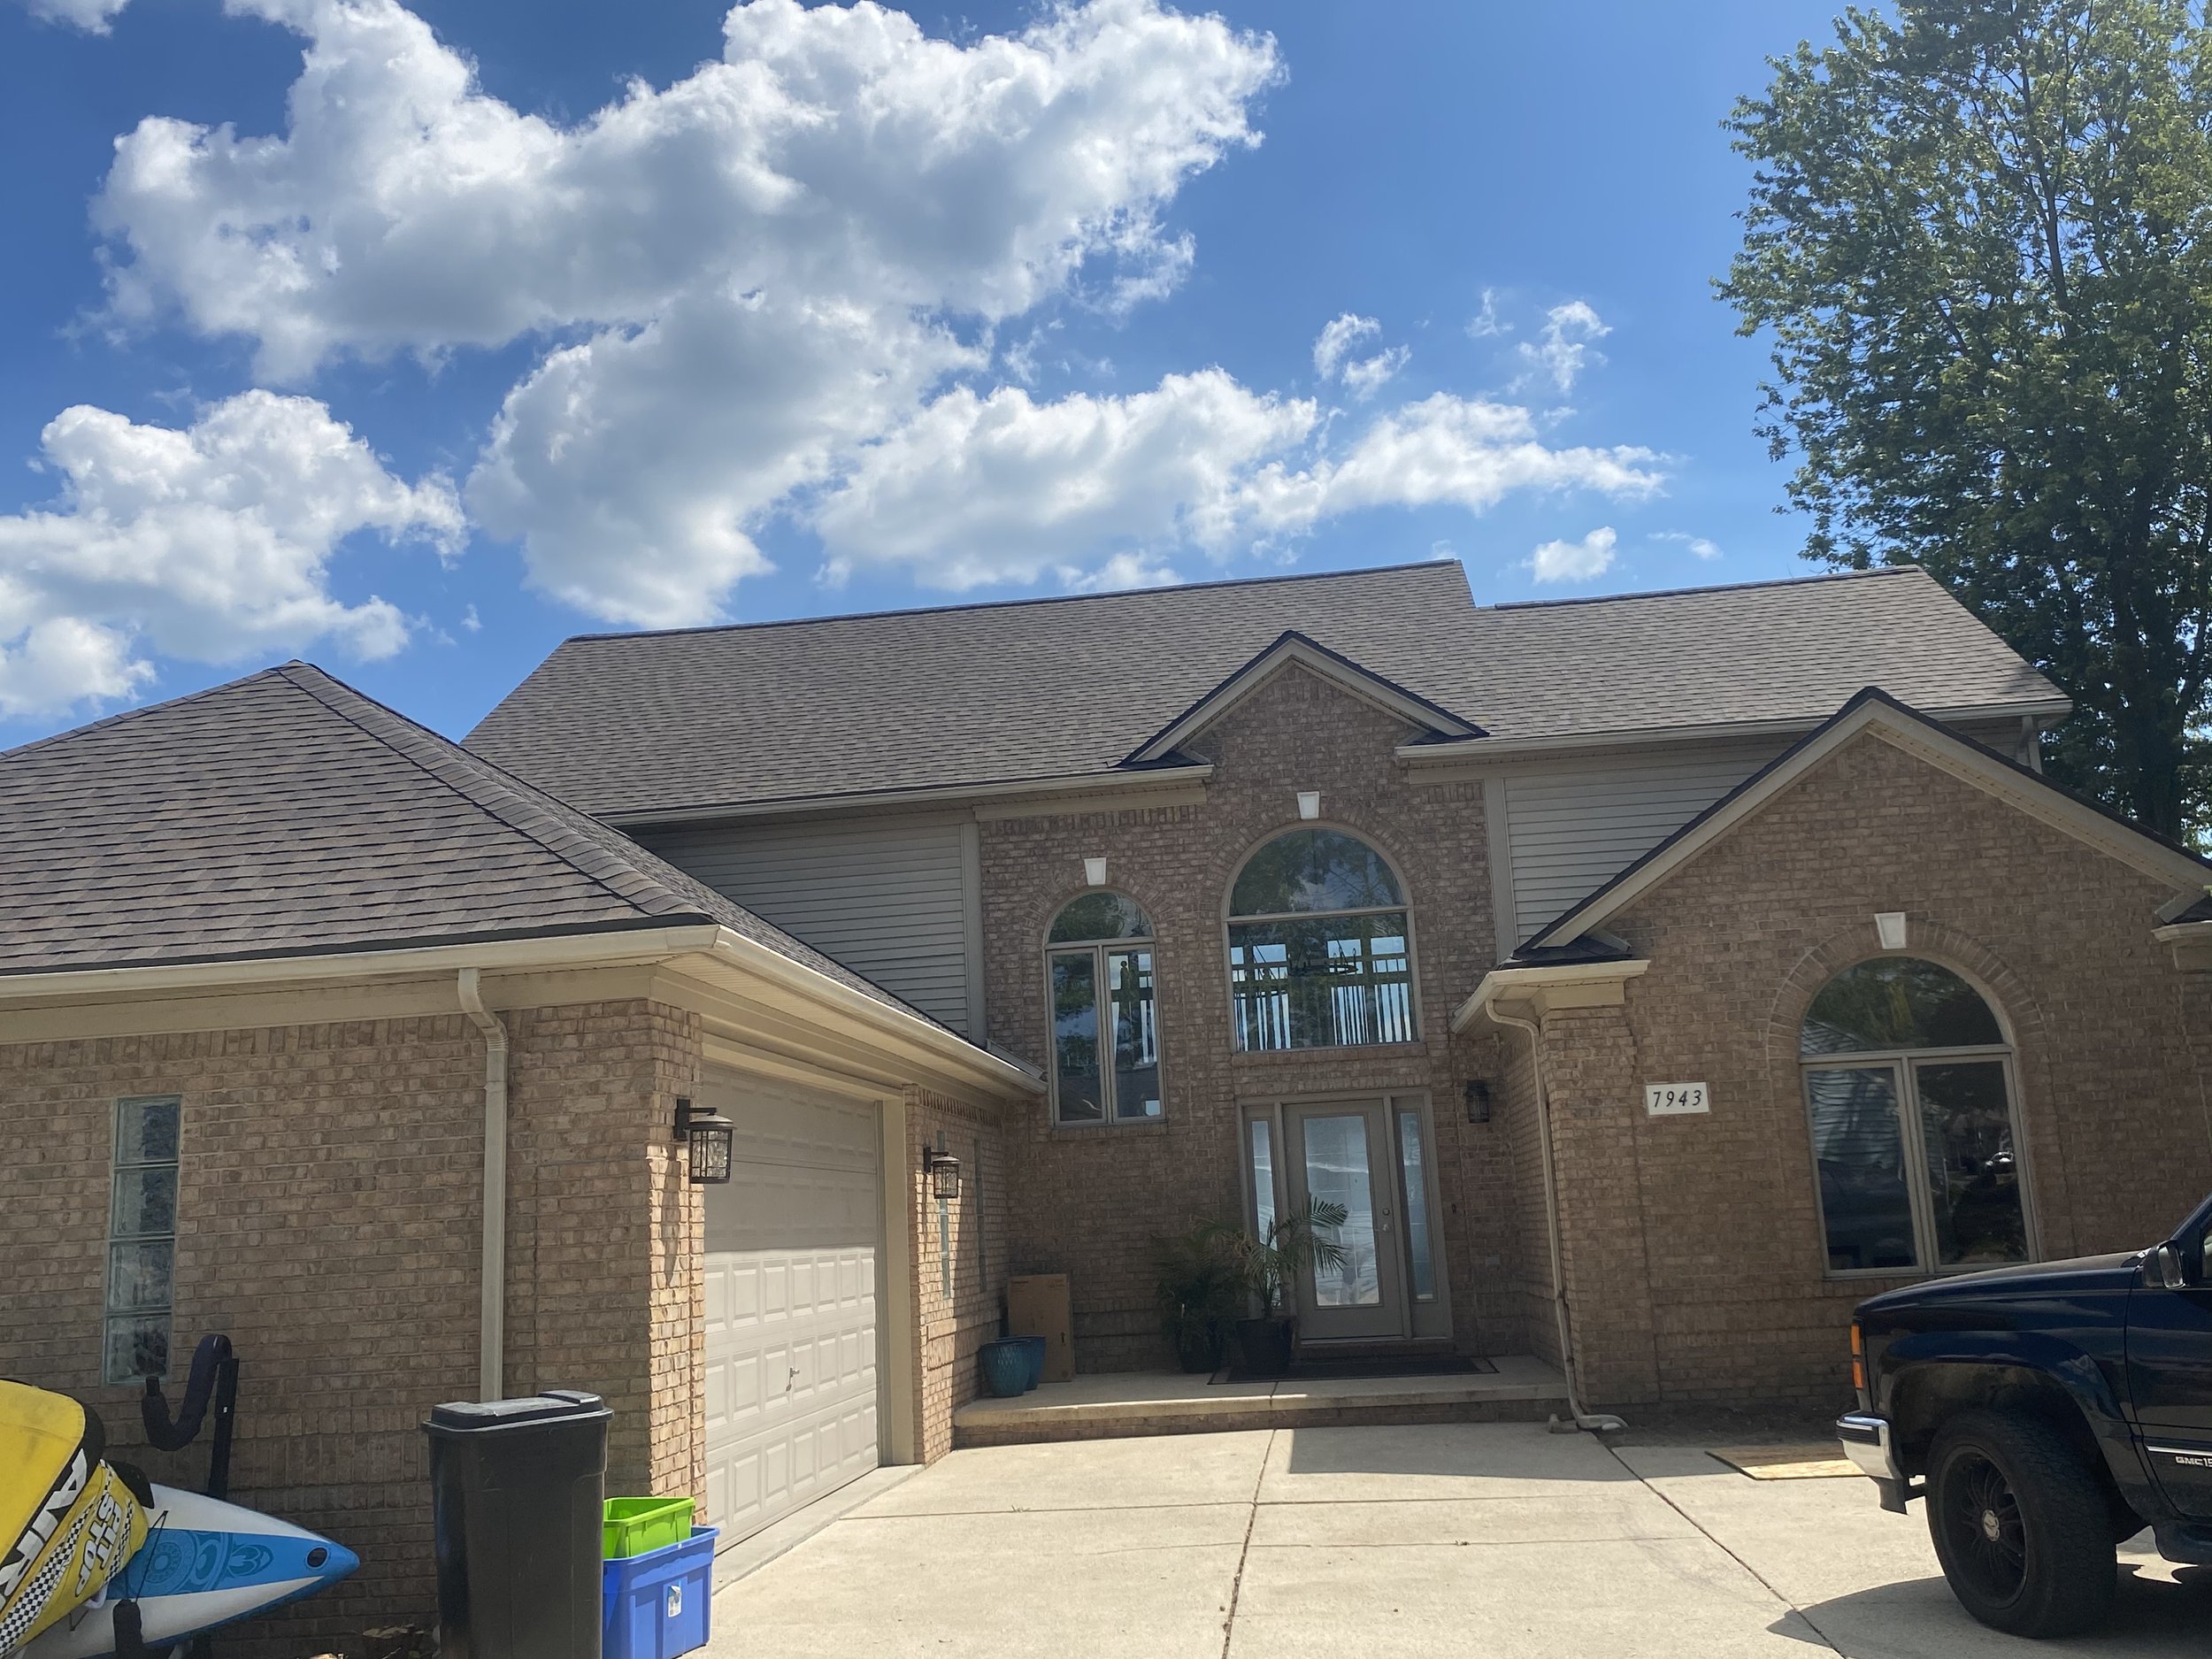
Window Installation 101: What "Good Install" Looks Like
📅 February 19, 2026
👤 NEXT Exteriors Team
⏱ 12 min read

I've been installing windows in Southeast Michigan since the late '80s, and I can tell you this: the window itself is only half the story. You can buy the most expensive, energy-efficient window on the market, but if it's installed wrong, you're going to have problems. Water intrusion. Air leaks. Operational failures. Rot in the framing. I've seen $800 windows fail in three years because of sloppy installation, and I've seen budget-friendly units perform beautifully for decades because they were installed right.
Here's the thing most homeowners don't realize until it's too late: window installation is where the real skill shows. Any crew can pop a window in an opening and caulk around it. But a proper installation—one that will survive Michigan's freeze-thaw cycles, wind-driven rain, and temperature swings—requires understanding building science, following a specific sequence, and using the right materials in the right order.
This guide breaks down exactly what a good window installation looks like, from the prep work nobody sees to the finishing details everyone notices. Whether you're hiring a contractor or trying to understand what you're paying for, this is the standard your Detroit window experts should be meeting.
The Pre-Installation Phase: Prep Work That Matters
Before a single window gets set, there's critical prep work that separates professionals from hacks. This is where problems get caught—or ignored.
Opening Inspection and Measurement
First thing we do on every job: measure the rough opening from inside and outside. Not just once—multiple times, at different points. Michigan homes settle. Brick Colonials in Rochester Hills shift differently than 1960s ranches in Warren. Wood frames warp. What the manufacturer's spec sheet says and what your actual opening measures can be two different things.
We're looking for:
Square corners — Most openings aren't perfectly square. We measure diagonals to check.
Level sills — If the sill is out of level by more than 1/4 inch, we need to address it before the window goes in.
Plumb jambs — Vertical sides need to be straight up and down, or the window won't operate properly.
Consistent dimensions — The opening should measure the same at top, middle, and bottom. Variations mean structural issues.
Rough Opening Assessment
Next, we inspect the framing. This is especially important in older Michigan homes where previous house siding in Detroit projects might have hidden problems.
We're checking for:
Rot or water damage in the sill, jambs, or header
Missing or damaged house wrap or building paper
Proper framing members (2x4s, not 2x3s or compromised lumber)
Evidence of previous water intrusion
Insulation gaps or voids around the old window
If we find rot, we stop. We don't install a new window over compromised framing. Period. We repair or replace the damaged wood first, then proceed. This is non-negotiable for any reputable contractor.
Flashing: The Most Critical Step Nobody Sees
Here's what 35 years of Michigan weather has taught me: flashing prevents 90% of window failures. Not the window itself. Not the caulk. The flashing system.
Flashing is the layered waterproofing system that directs water away from the window opening and down the exterior wall. When it's done right, water has no path to get behind the window or into the wall cavity. When it's done wrong—or skipped entirely—you get rot, mold, and structural damage that costs thousands to repair.
The Proper Flashing Sequence
This sequence matters. You can't just slap flashing tape around the opening and call it good. Water flows downhill, and each layer needs to overlap the one below it, creating a shingled effect that sheds water outward.
Here's the correct order:
Sill flashing first — We apply flexible flashing tape to the sill (bottom of the opening), extending it 6-8 inches up each jamb and out onto the exterior sheathing or house wrap. This creates a pan that catches any water that gets past the window.
Jamb flashing next — Vertical flashing tape goes on both sides, overlapping the sill flashing at the bottom and extending past the header at the top.
Head flashing last — The top piece overlaps the jamb flashing on both sides, creating a continuous drainage plane.
Each piece of flashing tape gets rolled with a J-roller or hand roller to ensure full adhesion. Air bubbles or loose edges create pathways for water.
Materials That Work in Michigan's Climate
Not all flashing tape is created equal. Michigan's temperature swings—from sub-zero January nights to 90-degree July afternoons—are brutal on adhesives. We use flexible, rubberized flashing tape that remains pliable in cold weather and doesn't break down under UV exposure.
Cheap flashing tape fails in 3-5 years. It gets brittle, loses adhesion, and cracks. Then water finds its way in, and you're looking at a $5,000 repair job to fix what a $20 roll of quality flashing would have prevented.
Pro Tip: If a contractor tells you they don't need flashing because they're using "plenty of caulk," walk away. Caulk is a secondary seal, not a waterproofing system. It will fail, and when it does, there's nothing protecting your wall cavity.
Setting and Leveling: The Foundation of Performance
A window that's not level and plumb won't operate correctly. The sashes will bind. The locks won't latch. The seals won't compress evenly, creating air leaks. And over time, the frame will rack and twist, leading to premature failure.
Shim Placement Strategy
Shimming is how we level and plumb the window in the opening. We use composite shims (not wood—they compress and rot) placed at specific locations:
At every fastener location — This prevents the frame from bowing inward when we drive screws.
At the corners — All four corners get shims to establish the plane of the window.
At mid-points — On windows wider than 36 inches, we add shims at the center of the sill, head, and jambs to prevent sagging.
Shims get checked with a 4-foot level (not a 2-footer—too short to catch bow) and adjusted until the window is perfectly level horizontally and plumb vertically. We're talking 1/16-inch tolerance here, not "close enough."
Fastener Spacing and Type
Windows get fastened through the nailing fin (on new construction-style windows) or through the frame (on replacement windows). Fastener spacing matters:
Every 8-12 inches around the perimeter
Stainless steel or galvanized screws — not nails, which can back out over time
Proper length — long enough to bite into solid framing, not just sheathing
Over-tightening is as bad as under-tightening. We're securing the window, not crushing the frame. Vinyl windows especially can bow if you crank down too hard on the fasteners.

Air Sealing and Insulation: Energy Performance
Once the window is set and fastened, we seal the gap between the window frame and the rough opening. This is where energy performance lives or dies. A window with a U-factor of 0.30 can perform like a 0.50 if the air sealing is sloppy.
Low-Expansion Foam Technique
We use low-expansion polyurethane foam—not the high-expansion stuff from the hardware store. High-expansion foam can bow window frames, preventing proper operation. Low-expansion foam fills the gap without exerting pressure on the frame.
The technique:
Apply foam in a continuous bead around the entire perimeter
Fill the gap 50-60% full—foam expands as it cures
Work from bottom to top to prevent voids
Don't overfill—excess foam gets trimmed, but it's wasteful and messy
We let the foam cure (usually 1-2 hours depending on temperature and humidity) before trimming it flush with the interior edge of the frame.
Backer Rod Application
For gaps wider than 1/2 inch, we use closed-cell foam backer rod before applying foam. This prevents the foam from sagging into the cavity and ensures a consistent seal depth. It's an extra step, but it makes a difference in thermal performance.
Interior and Exterior Sealing
After the foam is trimmed:
Interior side — We apply a continuous bead of paintable acrylic caulk where the window frame meets the interior trim or drywall return. This is the air seal.
Exterior side — We apply a continuous bead of high-quality exterior caulk (polyurethane or hybrid polymer) where the window frame meets the exterior trim and where trim meets siding. This is the weather seal.
Both seals are critical. The interior seal stops conditioned air from escaping. The exterior seal stops wind-driven rain from getting in. This dual-seal approach is standard in exterior services in Detroit and throughout Southeast Michigan.
Exterior Finishing: Weather Protection
The exterior trim and caulking are your first line of defense against Michigan weather. This is where a lot of contractors cut corners, and it shows within a year or two.
Trim Installation
We install exterior trim (brick mold, casing, or J-channel depending on the siding type) that:
Overlaps the window flange — This sheds water away from the window
Matches the existing trim profile — Or upgrades it if the old trim was undersized
Gets fastened properly — Into solid framing, not just sheathing
Receives a back-caulk — We run a bead of caulk on the back of the trim before installing it, creating a seal between the trim and the wall
On brick homes (common in Grosse Pointe Farms and Bloomfield Hills), we use PVC or aluminum trim that won't rot if moisture gets trapped between the brick and the window. Wood trim on brick is asking for trouble.
Caulking Strategy
Caulk is not just cosmetic—it's functional. But it has to be applied correctly:
Continuous beads — No gaps, no breaks
Tooled smooth — We use a caulk tool or wet finger to create a concave profile that sheds water
Proper adhesion — Surfaces get cleaned and dried before caulking
Quality product — We use Sherwin-Williams or equivalent exterior-grade caulk with a 25+ year rating
Here's a critical detail most DIYers miss: the bottom sill does not get caulked on the exterior. That gap needs to be open to allow any water that gets past the window to drain out. Sealing it traps water inside the wall cavity.
Interior Finishing: The Details Homeowners See
The interior finishing work is what you see every day, so it needs to be clean and professional. But it's also part of the air sealing system, so it's functional, not just decorative.
Trim Work and Casing
Interior trim (casing) gets installed around the window to cover the gap between the window frame and the drywall or plaster. We:
Match the existing trim profile throughout the house (or upgrade if requested)
Miter corners at 45 degrees for a clean look
Use finish nails, not brads—they hold better
Set nails below the surface and fill with wood filler
Caulk the joint between trim and wall with paintable caulk
Drywall Returns
On replacement windows (where the old window is removed and the new one fits inside the existing opening), we often need to extend the drywall to meet the new window frame. This is called a drywall return.
A proper drywall return:
Is cut to fit snugly against the window frame
Gets taped and mudded with at least two coats
Is sanded smooth and primed before painting
Receives a bead of caulk where it meets the window frame (air seal)
Sloppy drywall work is a dead giveaway of a rushed job. If the drywall return looks like an afterthought, the rest of the installation probably was too.
Paint-Grade vs. Stain-Grade Considerations
If you're painting the trim, we use finger-jointed pine or MDF—it's stable, smooth, and takes paint beautifully. If you're staining, we use solid wood (poplar, oak, or maple depending on your preference) with tight grain and no defects.
For homeowners planning to paint, we can prime the trim before installation, which saves time and produces a better finish. This is a common request in Lake Orion and Royal Oak where interior aesthetics are a priority.

Red Flags: Signs of a Bad Installation
You're paying good money for a window installation. You deserve to know what to look for—and what to reject. Here are the red flags I see when I'm called in to fix someone else's work.
Common Shortcuts Contractors Take
No flashing or incomplete flashing — If you can't see flashing tape around the opening before the window goes in, it's not there.
Caulk instead of flashing — Caulk is not a waterproofing system. It's a backup seal.
High-expansion foam — If the window frame is bowed after foaming, the wrong product was used.
Inadequate shimming — Shims only at the corners, or no shims at all, means the window isn't properly supported.
Over-tightened fasteners — If the window frame is visibly distorted or the sash binds when you operate it, the fasteners were over-tightened.
Gaps in caulk — Continuous beads, not dabs here and there.
Bottom sill caulked on exterior — This traps water. It should be left open.
Sloppy interior finish work — If the trim is crooked, gaps are visible, or nail holes aren't filled, the crew didn't care about quality.
What to Inspect Before Final Payment
Before you write that final check, walk through with the contractor and verify:
Windows operate smoothly — Open, close, lock, and unlock every window. No binding, no sticking.
Locks engage properly — The lock should latch without forcing it.
No visible gaps — Check around the interior and exterior trim for gaps or missing caulk.
Trim is secure — Push gently on the trim. It shouldn't flex or feel loose.
Clean work area — Old windows, debris, and packaging should be removed. The site should be cleaner than when they started.
Flashing documentation — Ask to see photos of the flashing before the window was installed. A good contractor takes photos of critical steps.
If something doesn't look right, speak up before the crew leaves. Most problems are easier to fix on the spot than after the contractor has moved on to the next job.
Cost Reality: What Quality Installation Costs in Michigan
Let's talk money. Window installation costs vary widely in Southeast Michigan, and understanding what you're paying for helps you make smart decisions.
Labor vs. Material Breakdown
For a typical double-hung replacement window installation in a Macomb County home:
Labor — $200-$400 per window, depending on size, accessibility, and condition of the opening
Materials — $50-$100 per window for flashing, foam, caulk, shims, fasteners, and trim
Disposal — $25-$50 per window for hauling away old windows and debris
So a quality installation runs $275-$550 per window in labor and materials, not including the window itself. Add the cost of the window (anywhere from $300 for a basic vinyl unit to $1,200+ for a high-performance wood or fiberglass window), and you're looking at $575-$1,750+ per window, all in.
That might sound like a lot, but consider this: a properly installed window lasts 20-30 years. A poorly installed window starts failing in 3-5 years, and then you're paying to fix water damage, replace rotted framing, and reinstall the window correctly. The cheap bid ends up costing you more.
Why Cheap Bids Backfire
If you get a bid that's significantly lower than others, ask yourself: What are they not doing?
Common cost-cutting tactics:
Skipping flashing
Using cheap materials (low-grade caulk, wood shims, inferior foam)
Rushing the job (inadequate shimming, poor caulking, sloppy trim work)
Inexperienced crews (learning on your dime)
No warranty or insurance
I've seen homeowners save $2,000 on a 10-window project, only to spend $8,000 two years later fixing water damage and reinstalling the windows correctly. That's not a bargain—it's a disaster.
This is why working with an established contractor like NEXT Exteriors, with 35+ years in business and a BBB A+ rating, matters. You're not just paying for the installation—you're paying for accountability, expertise, and peace of mind.
When to Call a Professional
Window installation is not a beginner-friendly DIY project. I know that's not what you want to hear if you're trying to save money, but I've repaired too many DIY disasters to sugarcoat it.
DIY vs. Contractor Decision Factors
Consider DIY if:
You have carpentry experience and own the right tools (level, square, J-roller, caulk gun, circular saw, etc.)
The opening is in good condition with no rot or structural issues
You're comfortable working on a ladder or scaffolding
You have time to do it right—rushing leads to mistakes
It's a simple replacement window in a one-story home
Call a professional if:
The opening has rot, water damage, or structural issues
You're installing new construction windows (more complex than replacements)
The window is on the second story or higher
You're replacing multiple windows and want consistency
You don't have experience with flashing systems
You want a warranty on the installation
Professional installation isn't just about skill—it's about liability. If something goes wrong with a DIY install, you're on the hook for repairs. If a licensed contractor makes a mistake, their insurance covers it. That peace of mind is worth something.
Michigan Winters Are Unforgiving: A window that seems fine in July can fail spectacularly in January when ice dams form, wind-driven snow finds every gap, and freeze-thaw cycles test every seal. Professional installation accounts for these conditions. DIY installations often don't.
Other Services from NEXT Exteriors
While we're known for our window replacement in Detroit, we're a full-service exterior contractor. If your home needs attention beyond windows, we handle roof replacement in Metro Detroit, siding installation in Southeast Michigan, gutter installation in Southeast Michigan, attic insulation in Metro Detroit, and exterior painting in Detroit. We're your single point of contact for all exterior services in Detroit and surrounding communities.
Ready to Get Started?
NEXT Exteriors has been protecting Michigan homes since 1988. Get a free, no-pressure estimate from a team that shows up on time and does the job right.
Or call us: (844) 770-6398
Frequently Asked Questions
How long does a professional window installation take?
+
A single replacement window typically takes 2-4 hours for a professional crew, including prep work, installation, insulation, and interior/exterior finishing. Full-house window replacements (10-15 windows) usually take 2-3 days depending on the home's size, window locations, and any repairs needed. Weather delays can extend timelines in Michigan—we won't install windows in rain or extreme cold because adhesives and caulks need proper curing conditions.
Can windows be installed in winter in Michigan?
+
Yes, but with limitations. We can install windows when temperatures are above 20°F and there's no active precipitation. Below that, caulks and adhesives don't cure properly, and foam insulation doesn't expand correctly. We also need to work quickly to minimize heat loss from the home. Spring and fall are ideal installation seasons in Southeast Michigan—moderate temperatures and lower humidity make for better curing conditions and more comfortable work for both the crew and homeowners.
What's the difference between new construction and replacement windows?
+
New construction windows have a nailing fin (flange) around the perimeter that gets fastened to the exterior sheathing before siding is installed. They're used in new homes or when you're down to the studs during a renovation. Replacement windows have no fin—they're designed to fit inside the existing window opening after the old window is removed. Replacement windows are faster to install and less disruptive, but they reduce the glass area slightly because the new frame sits inside the old opening. For most Michigan homeowners doing upgrades, replacement windows are the right choice.
How do I know if my window opening has water damage?
+
Signs of water damage include: soft or spongy wood around the window frame, dark staining on interior trim or drywall, peeling paint near the window, visible mold or mildew, musty odors, or exterior siding that's warped or rotted near the window. If you can push a screwdriver into the wood sill or jamb with little resistance, you have rot. Water damage must be repaired before a new window is installed—installing over compromised framing just hides the problem temporarily and leads to bigger issues down the road.
Should I replace all my windows at once or do it in phases?
+
Both approaches work, but there are trade-offs. Replacing all windows at once is more cost-effective (contractors often discount larger projects), ensures consistent appearance and performance, and gets the project done faster. Phased replacement spreads out the cost and lets you prioritize the most problematic windows first (north-facing windows in Michigan often fail first due to constant freeze-thaw exposure). If you're phasing, start with windows that are drafty, hard to operate, or showing signs of seal failure (condensation between panes). Just make sure you're working with the same contractor and window line to maintain consistency.
What warranty should I expect on window installation?
+
Reputable contractors offer a separate installation warranty (typically 2-10 years) that covers workmanship—things like leaks due to improper flashing, operational issues from poor shimming, or seal failures from inadequate insulation. This is separate from the manufacturer's warranty on the window itself (usually 10-20 years for vinyl, longer for fiberglass or wood). Make sure both warranties are in writing before the project starts. At NEXT Exteriors, we stand behind our work and address any installation issues promptly—that's part of changing contractor culture in Southeast Michigan.
How much can new windows reduce my energy bills?
+
Energy savings depend on what you're replacing and what you're installing. Replacing single-pane windows with modern double-pane, low-E windows can reduce heating and cooling costs by 15-25% in Michigan homes. Replacing older double-pane windows (pre-2000) with today's high-performance windows typically saves 7-15%. The biggest savings come from proper installation—even the best window performs poorly if it's not flashed, sealed, and insulated correctly. Factor in improved comfort (fewer drafts, more consistent temperatures) and reduced HVAC wear, and quality windows pay for themselves over 10-15 years.